Why I've Been Caching EVERYTHING on Redis
A cache layer is an inevitable step in the quest to a blazing fast application, and since I am simply self-hosting Redis and I have no cloud limitations, I figured why not cache EVERYTHING.

In my last post, I detailed my "pragmatic leap" from a purely normalized PostgreSQL schema to leveraging JSONB columns. This refactor was a huge win (so far), slashing API response times for my document generation website by a whole three seconds. But as any optimization enthusiast knows, the quest for performance is never truly over. Fetching a document from 1.2s down from 4.2s was great, but by the standards these days, that is slow. Way too slow.
I always knew the day would come when I would have to implement a Redis cache to optimize performance for the more frequently accessed data. It's an inevitable step in the quest to a blazing fast application, and since I am simply self-hosting Redis and I have no cloud limitations, I figured why not cache EVERYTHING. User sessions, configuration settings, frequently viewed reports, anything and everything that queried my primary database will be cached.
This is how I integrated a self-hosted Redis on my VPS using Coolify (what's new) into my API for an application I'm making. It was a path filled with configuration rabbit holes, networking nuances, and moments of pure frustration from my server's refusal to connect with Redis. But it was also an incredibly valuable lesson in DevOps and infrastructure control.
The First Step: Spinning Up Redis
Getting a Redis instance running with Coolify, a self-hosting platform I've come to love and is featured in pretty much all my previous blog posts, was deceptively simple. I added a new service, pointed it to the official redis:7.2 Docker image, gave it a unique name, and set a strong password.
Crucially, my application is also hosted on the same VPS within Coolify. For maximum security and performance, my goal was to keep the Redis database completely private, allowing it to communicate with my app over the internal Docker network, invisible to the outside world.
With Redis running, the next challenge was how to see what was inside it. I needed a GUI.
The GUI Dilemma: A Tale of Two Clients and a Wall of Errors
My first thought was to self-host a GUI alongside my other services. I initially tried Redis Commander, a popular web-based client. In theory, this was the perfect security model: I could host it in Coolify, access it from my browser, and it would communicate with the database over the secure internal network without ever exposing the database itself.
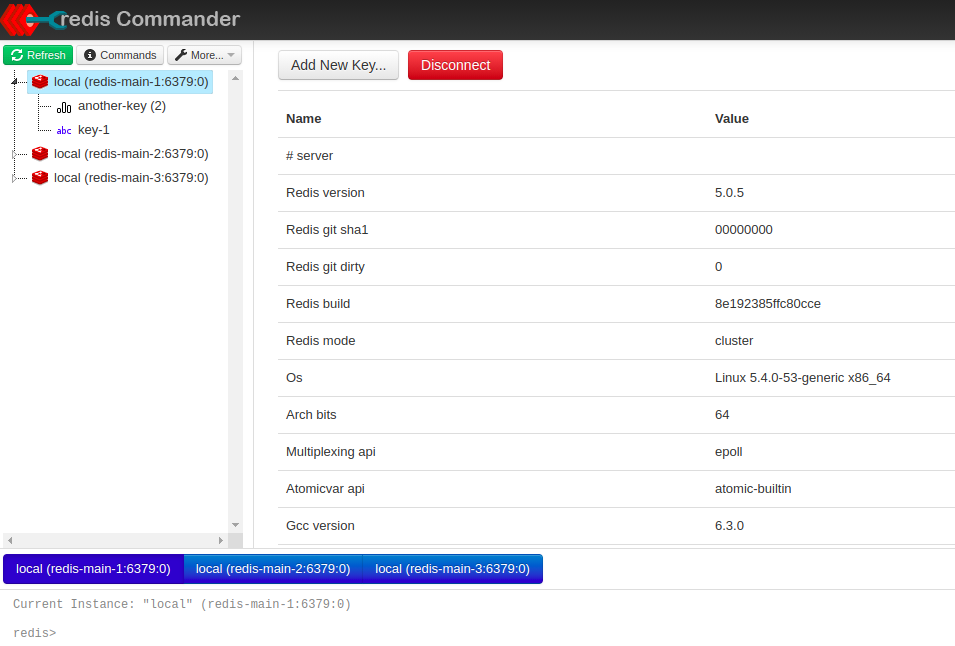
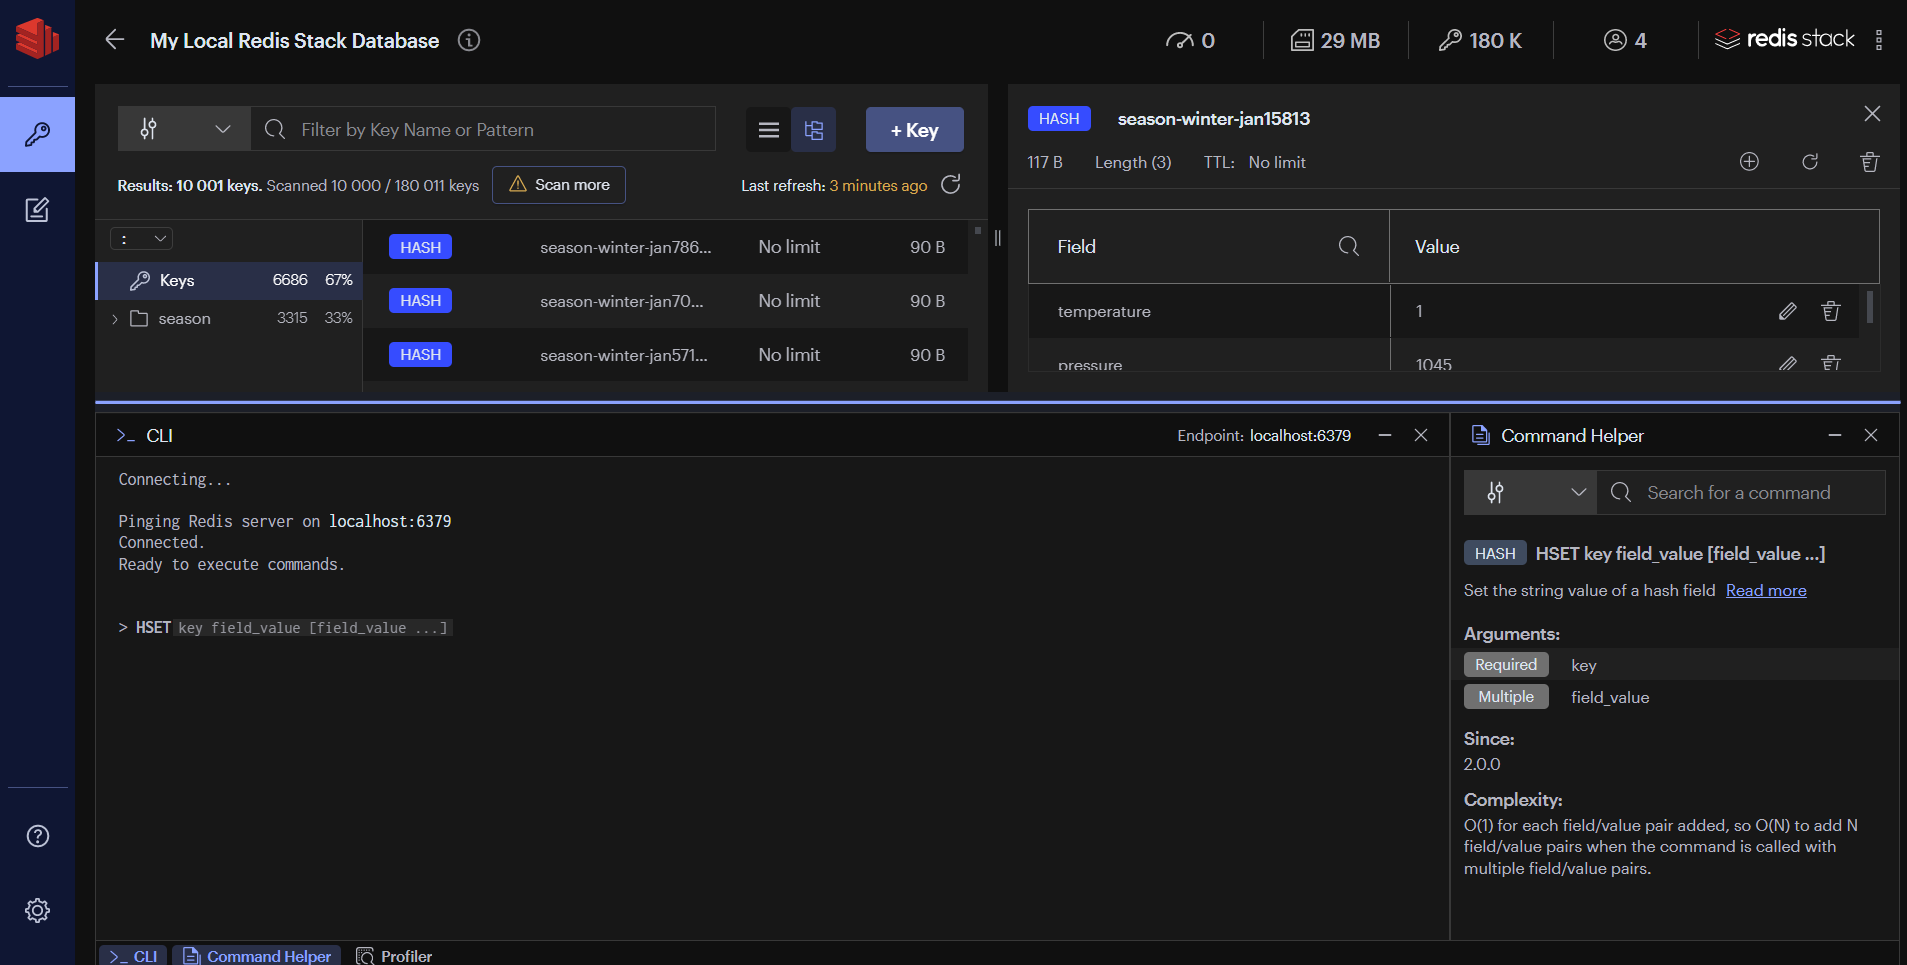
However, after getting it running, I found the interface felt archaic and wasn't the modern development tool I was hoping for. This led me to look for alternatives and I decided to use Redis Insight instead. It’s a powerful, feature-rich GUI that I could install directly on my local PC. However, this presented a problem: how does an application on my computer connect to a private database running on a server in a different country?
The short answer is: it can't. For Redis Insight to connect, my "private" database needed a public-facing address. This forced me to make a calculated decision about security versus convenience.
Caveat: The Security Trade-Off of Public Exposure
To expose my Redis service, I had to dive back into Coolify's network settings. The platform gives you two ways to expose a service: the "Ports Mappings" field for manual Docker port mapping, and the "Make it publicly available" checkbox, which uses an internal proxy.
The correct and more manageable method was to use the proxy. I checked the box, assigned a public port which I won't disclose for obvious reasons, and made sure that same port was opened for TCP traffic in my VPS firewall.
This felt like a security compromise, but it was a necessary one for the tooling I wanted to use. By using an unguessable public port, a very strong password, and a properly configured firewall, I minimized the risk. With the public URL in hand, I could plug the host, port, and credentials into Redis Insight on my desktop, and the connection was instantly established. I now had a powerful, native GUI to inspect and manage my cache.
One final, but crucial, configuration for a self-hosted instance is setting a memory limit. Redis, by default, will consume as much RAM as it needs, which can be dangerous on a VPS with shared resources. To prevent it from starving other applications, it's vital to add a maxmemory limit (e.g., maxmemory 256mb) and a maxmemory-policy (like allkeys-lru to evict the least recently used keys) in your Redis configuration. This ensures Redis plays nicely within your server's limits, acting as a bounded cache rather than a memory black hole. Luckily, Coolify makes it easy to add a custom Redis config.
The Payoff: Integrating Redis into the Application
With the infrastructure finally in place, integrating it into my Hono-Bun application was a joy. I used ioredis, a performant and modern Redis client for Node.js. The service module was clean and straightforward. What I thought would be a complicated mess turned out to be as easy to use as the localStorage API.
// src/services/redis.service.ts
import Redis from 'ioredis';

const client = new Redis({
  host: process.env.REDIS_HOST,
  port: parseInt(process.env.REDIS_PORT || '6379'),
  password: process.env.REDIS_PASSWORD,
});

export const redisCacheService = {
  async get<T>(key: string): Promise<T | null> {
    const data = await client.get(key);
    return data ? JSON.parse(data) as T : null;
  },

  async set(key: string, value: any, ttlSeconds: number): Promise<void> {
    await client.set(key, JSON.stringify(value), 'EX', ttlSeconds);
  }
};
This service became the new front line for any frequently accessed, read-heavy data.
The Real-World Impact: Why Was This Worth It?
My previous refactor to JSONB optimized database reads by reducing query count. Adding Redis optimized performance by eliminating database reads entirely, effectively reducing the response time to LESS THAN A QUARTER of what it originally was.
The impact was immediate and measurable in two key areas:
- User Authentication: My app verifies user sessions on nearly every authenticated API call. Previously, this required a quick query to my PostgreSQL database.
- Before Redis: ~1s per session lookup.
- After Redis: Under 200ms. Session data is now stored in Redis with an expiration, making lookups lightning fast.
- Frequently Accessed Documents: For reports or templates that users view repeatedly, the first request hits the database as usual. But now, the result is cached in Redis.
- First Load (Cache Miss): ~1.2s (the
JSONBoptimized time). - Subsequent Loads (Cache Hit): ~220ms. The response is served directly from memory, completely bypassing PostgreSQL.
- First Load (Cache Miss): ~1.2s (the
The most significant benefit isn't just the raw speed. By offloading these constant, repetitive reads to Redis, I've drastically reduced the load on my primary PostgreSQL database. This frees it up to do what it does best: handle complex writes and maintain the transactional integrity of my core data.
This journey taught me that infrastructure is not just a container for code; it's an integral part of the application's performance and architecture. The path was paved with cryptic errors, but each one was a lesson in networking, security, and the powerful, decoupled nature of modern services. For a solo developer, taking control of this stack is not just empowering—it's how you turn a sluggish app into a snappy, responsive experience.


